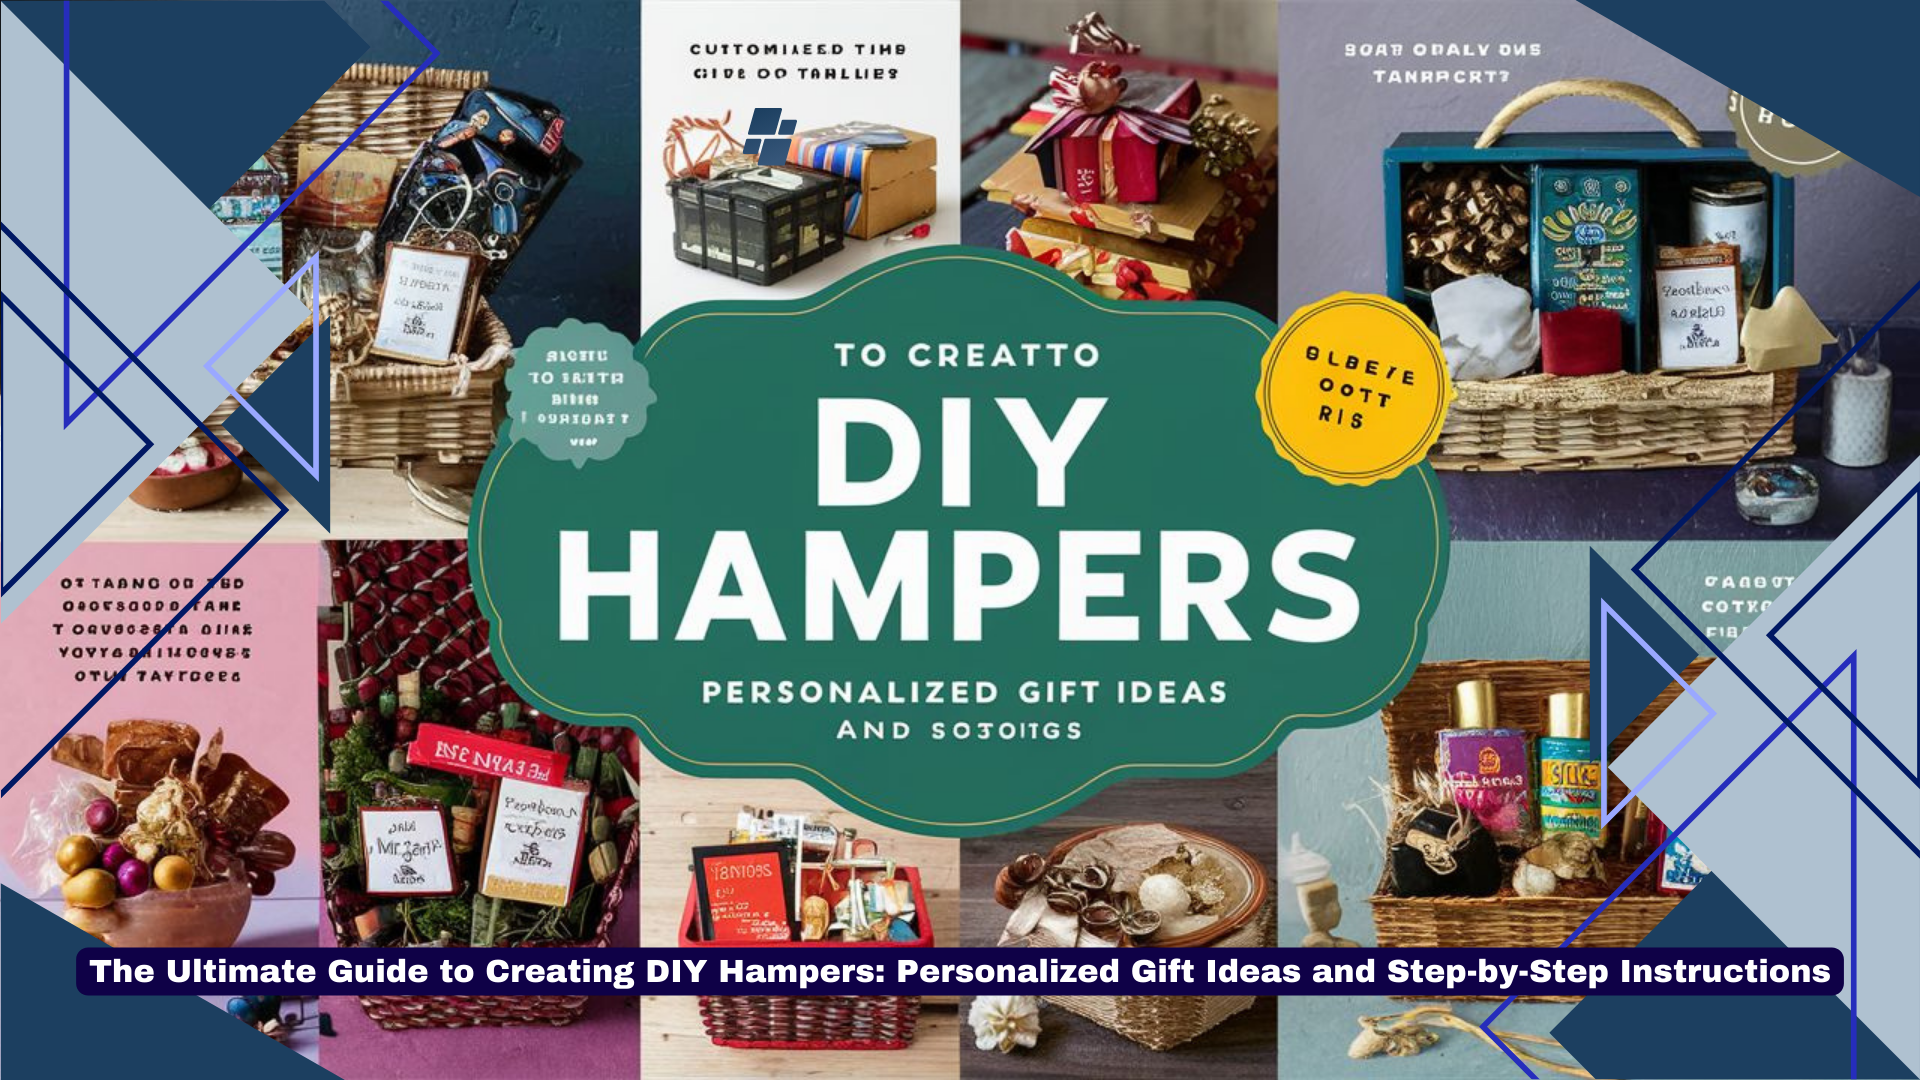
Welcome to our comprehensive guide on creating DIY hampers! If you’re looking to add a personal touch to your gifts or want to explore a creative way of presenting presents, then you’ve come to the right place. In this article, we will provide you with all the information you need to know about making your own hampers, from personalized gift ideas to step-by-step instructions. Whether you’re a beginner or an experienced DIY enthusiast, this guide will help you create beautiful and thoughtful hampers that are sure to delight your loved ones. So, let’s dive into the world of DIY hampers and unleash your creativity!
Table of Contents
Choosing the Perfect Theme for Your DIY Hampers
When creating your DIY hampers, it’s important to start with a clear theme in mind. A well-defined theme not only adds coherence to your hamper but also helps you select the most appropriate items to include. Here are some factors to consider when choosing the perfect theme:
1. Occasion
Think about the occasion or event for which you are creating the hamper. Is it a birthday, anniversary, baby shower, or a holiday celebration? Tailoring your theme to the specific occasion will make the gift more meaningful and memorable.
2. Recipient’s Interests
Consider the recipient’s hobbies, interests, and preferences. Are they a foodie, a book lover, a fitness enthusiast, or a spa aficionado? Incorporating items that align with their interests will make the hamper more personalized and enjoyable to receive.
3. Seasonal and Trending Items
Stay up-to-date with seasonal trends and popular items. Including seasonal products or trendy items can add a contemporary touch to your hamper and make it feel current and relevant. Keep an eye on the latest trends and adapt them to suit your chosen theme.
4. Color Scheme and Aesthetics
Choose a color scheme and aesthetics that complement each other and reflect the overall theme. Harmonizing the colors and visual elements of your hamper will enhance its visual appeal and cohesiveness.
By carefully considering these factors, you can create a DIY hamper with a well-defined theme that will make a lasting impression on the recipient.
Gathering the Essential Supplies for DIY Hampers
Before you embark on creating your DIY hampers, it’s important to gather all the necessary supplies. Having the right materials on hand will make the process smoother and more enjoyable. Here are the essential supplies you’ll need:
1. Hamper or Basket
Start by selecting a suitable hamper or basket as the base for your DIY creation. Consider the size, shape, and material of the hamper, ensuring it complements your chosen theme. You can find a variety of options at craft stores or repurpose items you already have.
2. Filler Material
Choose an appropriate filler material to provide a cushion for the items within the hamper. Options include shredded paper, tissue paper, or crinkle cut paper. Select a filler color that coordinates with your theme to enhance the overall presentation.
3. Assorted Items
Now it’s time to gather the items that will fill your hamper. Consider a mix of products that align with your chosen theme, such as gourmet treats, skincare products, books, or small gadgets. Aim for a variety of items to create an exciting and well-rounded gift.
4. Decorative Elements
Add a touch of creativity to your hamper with decorative elements. This can include ribbons, bows, gift tags, or even personalized labels. These embellishments will elevate the visual appeal of your hamper and make it feel more special.
5. Tools
Don’t forget to gather essential tools such as scissors, tape, glue, and a hole puncher. These will come in handy when arranging and securing items in your hamper.
By ensuring you have all the necessary supplies, you’ll be well-prepared to create stunning and well-crafted DIY hampers that are sure to impress.
Assembling and Arranging Your DIY Hampers
Now that you have your theme and supplies ready, it’s time to bring your DIY hampers to life by assembling and arranging the items. Follow these steps to create an eye-catching and well-organized hamper:
1. Prepare the Hamper
Line the hamper with your chosen filler material to create a soft base for the items. This will also help to add volume and stability to the hamper, preventing items from shifting during transportation.
2. Arrange Larger Items First
Start by placing the larger items in the hamper. These could be the main focus of your hamper or items that need to be positioned strategically. Arrange them in a way that is visually appealing and ensures they are secure.
3. Add Medium-sized Items
Next, add the medium-sized items around the larger items. These could include assorted treats, accessories, or smaller gifts. Distribute them evenly throughout the hamper to create balance and visual interest.
4. Fill in the Gaps
Fill any gaps between the items with smaller fillers such as candies, mini decorations, or small trinkets. This will help to create a fuller and more aesthetically pleasing hamper.
5. Finishing Touches
Complete your DIY hamper by adding final decorative touches. Tie ribbons or bows around items, attach personalized gift tags, or include a handwritten note to add a personal touch.
Remember to step back and assess your arrangement from different angles to ensure it looks cohesive and well-balanced. Once you’re satisfied with the arrangement, your DIY hamper is ready to be presented to its lucky recipient!
Personalizing Your DIY Hampers with a Special Touch
One of the best aspects of creating DIY hampers is the opportunity to add a personal touch that reflects the recipient’s personality and your relationship with them. Here are some ideas to consider when personalizing your hampers:
1. Customized Items
Include customized items that are tailored specifically to the recipient. This could be a monogrammed item, a personalized photo frame, or a custom-made piece of jewelry. These unique touches will make the hamper feel extra special.
2. Handmade Gifts
Add a heartfelt touch by including handmade gifts. This could be a knitted scarf, a hand-painted mug, or a batch of homemade cookies. Handmade items showcase your creativity and effort, making the hamper more meaningful.
3. Personalized Messages
Include a handwritten note or card expressing your thoughts and well-wishes for the recipient. This simple gesture adds a personal and sentimental touch that will be cherished long after the hamper is received.
4. Memories and Inside Jokes
Incorporate elements that hold sentimental value, such as photographs, mementos, or items that remind you of shared memories or inside jokes. These personal references will evoke nostalgia and strengthen your bond with the recipient.
5. Tailor to Their Tastes
Consider the recipient’s preferences when selecting items for the hamper. Include their favorite snacks, books by their favorite author, or products from their preferred brands. This attention to detail will show that you’ve put thought into curating a hamper specifically for them.
By personalizing your DIY hampers, you create a truly unique and thoughtful gift that will leave a lasting impression on the recipient.
Wrapping and Presenting Your DIY Hampers
Now that your DIY hamper is complete, it’s time to wrap it up and present it in a visually appealing way. Follow these tips to ensure your hamper looks impressive from the outside:
1. Choose the Right Wrap
Consider using a clear cellophane wrap or a decorative wrapping paper that complements your hamper’s theme. The wrap should be large enough to cover the entire hamper and leave some excess for tying at the top.
2. Secure the Wrap
Wrap the hamper tightly, making sure the cellophane or wrapping paper is secure. You can use clear tape or decorative ribbons to hold the wrap in place.
3. Add a Bow or Ribbon
Amp up the presentation by adding a beautiful bow or ribbon to the top of the hamper. This adds a touch of elegance and makes the hamper look more festive and inviting.
4. Attach a Gift Tag
Don’t forget to attach a gift tag with the recipient’s name or a personalized message. This helps to identify who the hamper is for and adds a thoughtful touch.
5. Consider Presentation Options
Think about how you want to present the hamper. You can place it in a gift bag, tie it with a large decorative bow, or display it on a decorative tray. Consider the occasion and the recipient’s preferences when choosing the presentation style.
Remember, the way you present your DIY hamper adds to the overall excitement and anticipation for the recipient. Take the time to wrap it beautifully and create a visually stunning gift that will impress.
Tips for Sourcing Quality Items for DIY Hampers
When creating DIY hampers, the quality of the items you include plays a significant role in the overall impression and enjoyment of the gift. Here are some tips for sourcing high-quality items:
1. Research and Compare
Take the time to research and compare different brands and products before making a purchase. Read reviews, check ratings, and compare prices to ensure you’re selecting items of good quality.
2. Shop Local and Small Businesses
Support local businesses and artisans by sourcing items from them. Local products often have a unique charm and superior quality. Additionally, purchasing from small businesses helps the local economy thrive.
3. Consider Sustainable and Ethical Options
Opt for sustainable and ethically sourced items whenever possible. Look for certifications such as Fair Trade, organic, or eco-friendly labels. This ensures that the products are produced in an environmentally and socially responsible manner.
4. Read Ingredient and Material Labels
If you’re including food, skincare, or cosmetic products, read the ingredient labels to ensure they are of high quality and do not contain any harmful substances. Similarly, check material labels for clothing or accessories to ensure they are durable and made from quality materials.
5. Seek Recommendations and Referrals
Ask friends, family, or online communities for recommendations on reputable brands or stores that offer high-quality items. Personal referrals can be a great way to discover hidden gems and ensure you’re selecting reliable products.
By following these tips, you can ensure that the items you include in your DIY hamper are of excellent quality, enhancing the overall value and enjoyment of the gift.
Delivering and Storing Your DIY Hampers with Care
After putting in all the effort to create a stunning DIY hamper, it’s important to ensure that it is delivered and stored with care to maintain its quality and presentation. Follow these guidelines:
1. Secure Packaging
When delivering your hamper, make sure it is packaged securely to prevent any damage during transportation. Use bubble wrap or additional filler material to protect fragile items.
2. Consider Temperature Sensitivity
If your hamper contains perishable items or products that are sensitive to temperature, take appropriate measures to maintain their quality. Consider using insulated packaging or adding ice packs to keep items fresh.
3. Handle with Care
When delivering or gifting your hamper, handle it with care to avoid any accidental damage. Avoid placing heavy objects on top of the hamper, and be mindful of any delicate decorations or packaging.
4. Provide Care Instructions
If your hamper includes items that require special care or storage instructions, make sure to provide those instructions to the recipient. This ensures that the items are properly maintained for long-lasting enjoyment.
5. Store in a Suitable Environment
If the hamper is not immediately gifted or consumed, store it in a cool, dry place away from direct sunlight. This helps to preserve the quality of the items and maintain their freshness.
By delivering and storing your DIY hamper with care, you can ensure that the recipient receives a gift that is in pristine condition and can fully appreciate your thoughtful creation.
Alternative Ideas for DIY Hampers
While the traditional hamper filled with various items is a popular choice, there are alternative ideas to explore when creating DIY hampers. Consider these unique options:
1. Themed Gift Boxes
Instead of using a hamper, opt for themed gift boxes. These can be beautifully decorated and filled with items that align with the chosen theme. For example, a movie night gift box could include popcorn, snacks, and a DVD.
2. Subscription Boxes
Curate a subscription box-style hamper by selecting a theme and including items that can be enjoyed over time. This could be a monthly book club box, a quarterly self-care package, or a seasonal gourmet treat box.
3. Experience Hampers
Go beyond physical items and create hampers centered around experiences. This could include tickets to a concert or event, vouchers for a spa day, or a collection of DIY project kits.
4. Eco-Friendly Hampers
Create hampers that promote sustainability and eco-conscious living. Include reusable products like stainless steel straws, bamboo utensils, and organic skincare items. You can also add a small plant or seeds for an eco-friendly touch.
5. Memory Hampers
Collect and present items that evoke memories and nostalgia. This could be a collection of family recipes, old photographs, handwritten letters, or sentimental objects that hold special meaning to the recipient.
These alternative ideas for DIY hampers offer a fresh and unique approach to gifting, allowing you to create something truly memorable and tailored to the recipient’s preferences.
DIY Hamper Ideas for Different Occasions
DIY hampers are versatile gifts that can be customized to suit various occasions. Here are some creative ideas for different special occasions:
1. Birthday Hamper
For birthdays, consider creating a hamper filled with the recipient’s favorite treats, a small personalized birthday cake, party accessories, and a thoughtful birthday card.
2. Baby Shower Hamper
Celebrate the upcoming arrival of a baby by assembling a baby shower hamper. Include essentials such as baby clothes, blankets, toys, and baby care products. You can also add a heartfelt card or a parenting book.
3. Wedding Hamper
For newlyweds, put together a wedding hamper with items to help them start their married life. Include champagne, gourmet snacks, scented candles, and a personalized photo frame.
4. Graduation Hamper
Celebrate academic achievements with a graduation hamper. Fill it with inspiring books, a journal, a congratulatory card, and perhaps a gift card to their favorite store or a restaurant.
5. Holiday Hamper
During the holiday season, create a festive hamper with seasonal treats, ornaments, hot chocolate mix, cozy socks, and a holiday-themed movie or book.
6. Anniversary Hamper
Commemorate a special milestone with an anniversary hamper. Include items like a bottle of wine or champagne, gourmet chocolates, a personalized love letter, and a romantic date night voucher.
By tailoring your DIY hampers to specific occasions, you can create memorable gifts that capture the essence of the event and make the recipient feel truly special.
In conclusion, DIY hampers offer a creative and personalized way to gift your loved ones for various occasions. From birthdays to weddings, baby showers to anniversaries, there is a hamper idea that can be customized to suit any special event. By carefully choosing a theme, gathering high-quality items, and adding personal touches, you can create a truly unique and thoughtful gift that will leave a lasting impression.
Remember to consider the recipient’s interests, preferences, and the occasion itself when curating your DIY hamper. Whether it’s a traditional hamper filled with an assortment of items or a themed gift box, the options are endless. Don’t forget to present your hamper with care, paying attention to packaging, delivery, and storage instructions to ensure its integrity is maintained.
So, unleash your creativity, explore alternative ideas, and have fun creating DIY hampers that will bring joy and delight to those who receive them. Whether it’s a small gesture or a grand expression of love, DIY hampers are sure to make any occasion extra special.